
What You Will Need To Showcase Your Work!
Welcome to Twist! We are so happy to have you showing your work here in our gallery space!
Installing Art is not as complicated as some would have you believe, all you really need are a
few tools and willpower. Whether this is your first showing ever or you’re a seasoned veteran
when it comes to showings, here are a few things to remember when it’s your time to come in
and install your work.
1. Tools to bring
Level, Ruler/Tape Measure, Pencil; marking and adjusting placement
Hammer and Nail; manual power, no batteries needed
Levels are great tools to ensure that pieces are hung correctly, facing the viewer straight on from
a 90 degree plane with the top and bottom corners aligning perpendicularly. Using a measuring
tape ensures accurate measurements and is not limited to retrying to find the perfect spot, but it’s
always better to use a pencil, not a pen, in case your measurements are not exact and need
changing. While these tools may be your best friends, they would be useless if the hammer and
nails were forgotten.
2. Calculate Height
57 inches (“) is the ‘Plum Line’ or median height
Drop indicates space between top of stretched wire and top of frame
Height of Piece minus (-) Wire Drop plus (+) 57” = Nail Height
Calculating the height at which you should place your nail to hang the piece is based on a few
factors; one of which being whether the piece has a wire hanging or if your piece will hang
directly off the nails. If your piece has no wire, find a spot where the top of the piece can rest and
balance on the nail; if your piece is small, one nail should be enough to support the work, while
larger pieces will need two or three nails.
3. Nails Not Screws
Screws do not Protect integrity of Walls
Angle nail head 45 degrees away from wall
Use Flat Head 1 1⁄2 inch nails
Flat Head 1 1⁄2 inch nails work best for their stability and strength while being small enough to
easily patch over. Angling the nail to be 45 degrees facing outward from the wall ensures a
minimal chance of the nail coming loose and dropping the work. Using a hammer and nails
opposed to screws makes your installation easier and keeps our walls intact with minimal
damage. There’s also no batteries required unlike power tools.
4. Hanging the Work
Whether hanging a frame with a wire or hanging a canvas directly onto the wall, use tape
measure to find spots on the wall to accurately and carefully balance the work so it shows
straight on to the viewers. Ensure the work rests on its balance point(s) and has the corners all at
90 degrees next to a level to make it centered for the audience.

5. Final Touches
Clear labels with all info encouraged to be hung with the work.
Information should be typed out and readily available to be placed onto the wall next to your
work(s). The more information for the viewer the better; what materials are used, what are the
dimensions, what year, what’s the name, what’s the artist’s name, etc.
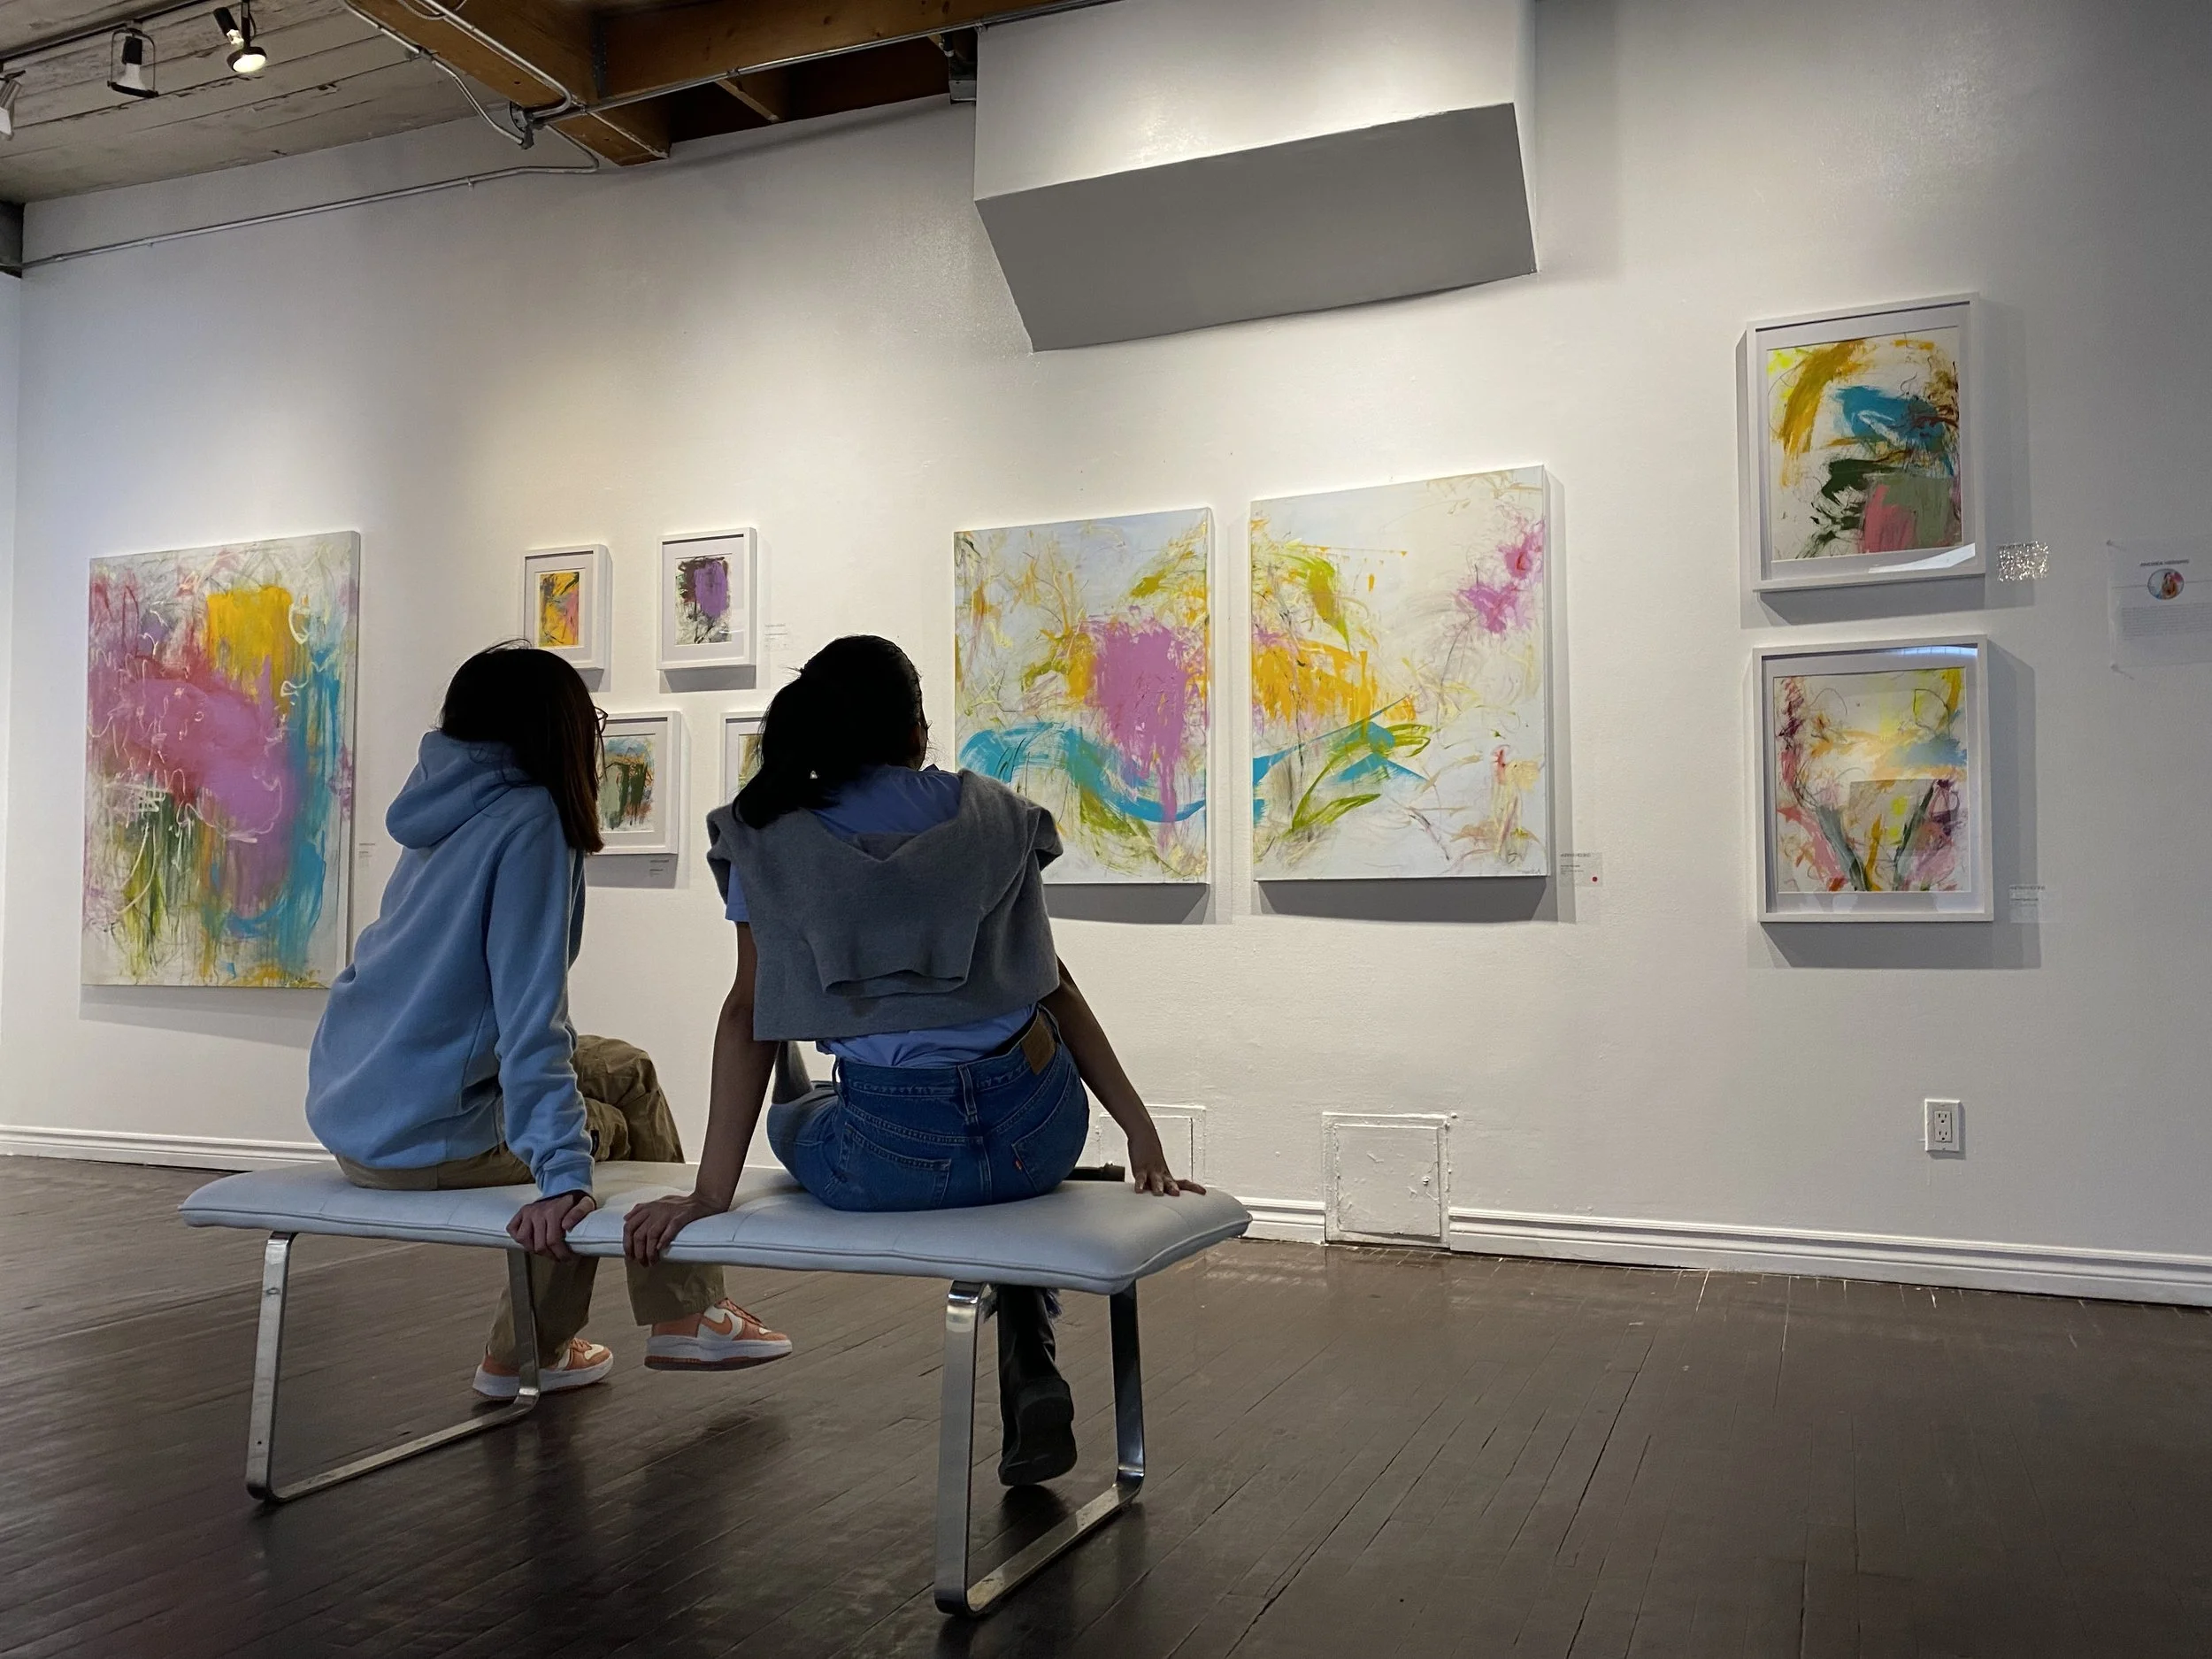
Example of Proper Hanging and Labelling:
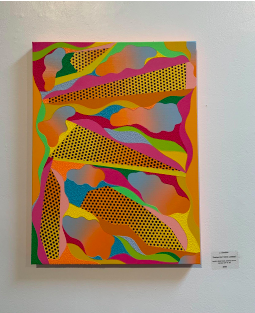
Art by JJ Smolkin

We hope you have found these tips useful when hanging art in our space or your own! If you
managed to put up work thanks to these tips, tag us and let us see your hanging job.